Originally published on Medium and has an honorable mention in the Awesome Prismic Github repo
Progressive Web Apps (PWA) combine the capabilities of native apps with the reach of web apps. They are powered by modern APIs to deliver reliability and reach to anyone, on any device, with the a single codebase. Though they’ve been around since the early 2000s with the creation of XHMLHTTPRequest, the term was first coined by Google in 2015. See The history of PWA development. Since then modern web frameworks have come along to make developing them much easier.
Building a Progressive Web App
This guide will walk through building a blog site that gets it’s content from prismic.io and sends a push notification to subscribed users via onesignal whenever new content is published.
Lets start by installing nuxt and the dependencies we’ll need for this to work. To keep this guide short I won’t be touching the nuxt installation process. If you’ve never used it before please take a look at their getting started guide.
After installation run the following command to install the packages we’ll need.
npm i @nuxtjs/onesignal @nuxtjs/prismic @nuxtjs/pwa express request prismic-dom prismic-javascript @nuxtjs/moment
Enable prismic, onesignal and nuxt’s pwa module by adding them to the modules array of the nuxt.config.js file.
...
modules: [
  '@nuxtjs/prismic',
  '@nuxtjs/onesignal',
  '@nuxtjs/pwa',
  '@nuxtjs/moment'
]
...
PS: installing the nuxtjs/pwa module converted your application in a pwa — so yay! No need to manually setup service workers :)
To override the default settings (recommended) you can add the following to your config file.
...
pwa: {
  manifest: {
    name: 'Nuxt Blog',
      short_name: 'Nuxt Blog',
        description: 'This is an awesome medium article',
          icons: [
            { src: '/icon.png', sizes: '512x512', type: 'image/png' },
            { src: '/icon.png', sizes: '512x512', type: 'image/png', purpose: 'any maskable' }
          ]
  }
}
...
Maskable icons ensures your PWA icon looks great on all Android devices and is a requirement to pass the lighthouse PWA audit. Read more about that here.\
Configuring prismic.io
Now it’s getting good!
Prismic is an API-based headless CMS that’s fairly easy to use. It’s API is based off of graphql so if you’re familiar using it will be snappy. For developers, like myself, who never used graphql don’t worry there’s no need to use it to fetch content. Let’s dive in:
- Create a prismic account and login
- Create a repository
- Create a repeatable custom type (Blog posts) and setup the fields that you’ll later use to add content.

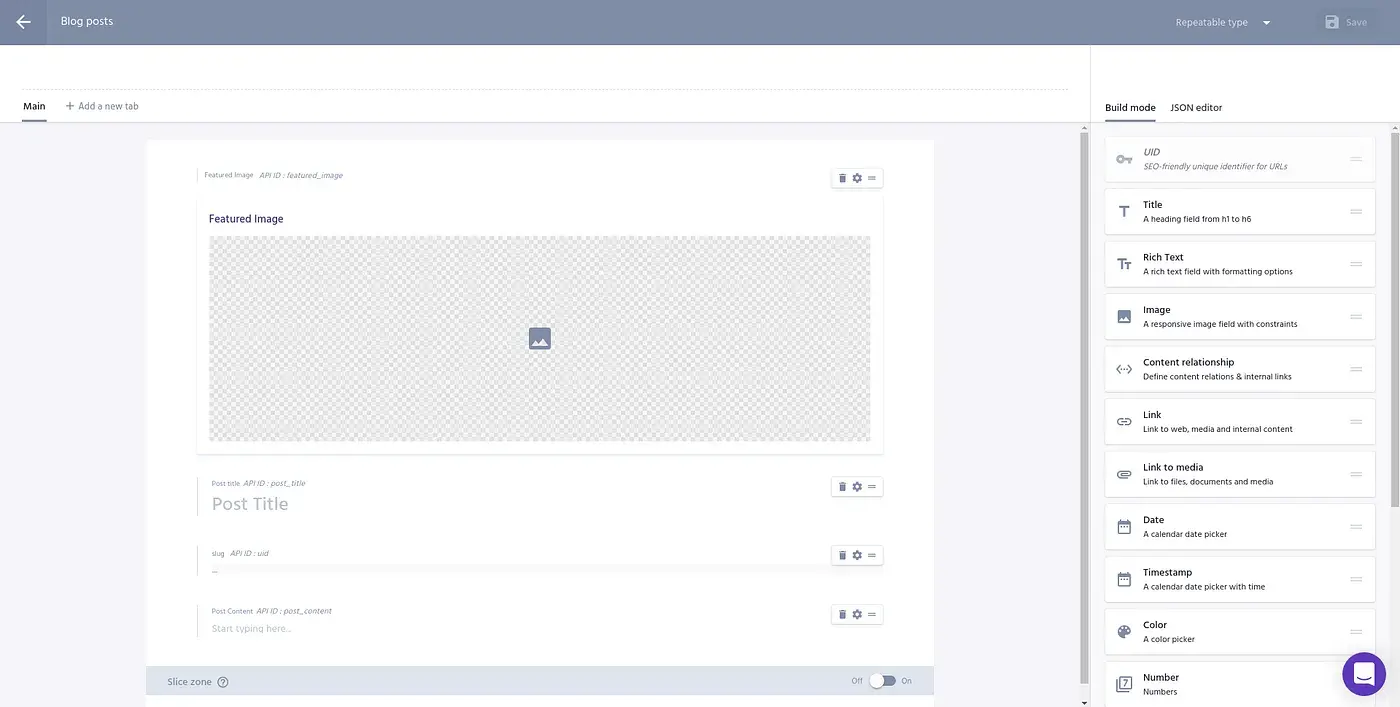 Fields for blog post editor
Think of this as creating a custom WYSIWYG editor, which in essence is exactly what it is. To mimic what I have here paste this into the JSON editor.
{
  "Main": {
    "featured_image": {
      "type": "Image",
      "config": {
        "constraint": {
          "width": null,
          "height": 302
        },
        "thumbnails": [],
        "label": "Featured Image"
      }
    },
    "post_title": {
      "type": "StructuredText",
      "config": {
        "single": "heading1",
        "label": "Post title",
        "placeholder": "Post Title"
      }
    },
    "uid": {
      "type": "UID",
      "config": {
        "label": "slug"
      }
    },
    "post_content": {
      "type": "StructuredText",
      "config": {
        "multi": "paragraph, preformatted, heading1, heading2, heading3, heading4, heading5, heading6, strong, em, hyperlink, image, embed, list-item, o-list-item, o-list-item",
        "allowTargetBlank": true,
        "label": "Post Content",
        "placeholder": "Start typing here..."
      }
    }
  }
}
- Setup the link resolver — necessary for returning the appropriate paths from the rich text and link fields in your prismic repo. It will take a document object as an argument and return the corresponding route of your website.
In the plugins directory create link-resolver.js and add the following content.
export default function (doc) {
  if (doc.isBroken) {
    return "/not-found";
  }

  if (doc.type === "blog") {
    return "/blog/" + doc.uid;
  }

  return "/not-found";
}
- Setup html serializer (optional)— create html-serializer.js in the plugins directory. Only needed if you plan to use <prismic-rich-text> in your component template. We won’t be covering that but if you need it, you can download it here.
Lastly, we’ll update our config file to include the link resolver and serializer like so:
...
prismic: {
  endpoint: 'https://{project-name}.cdn.prismic.io/api/v2',
    linkResolver: '@/plugins/link-resolver',
      htmlSerializer: '@/plugins/html-serializer'
},
...
Endpoint can be found by going to settings->API & Security.
Connecting to the API
Lets now make a blog component and fetch some data from the API.
First things first — create some content in prismic. Log into your dashboard and create a new document.
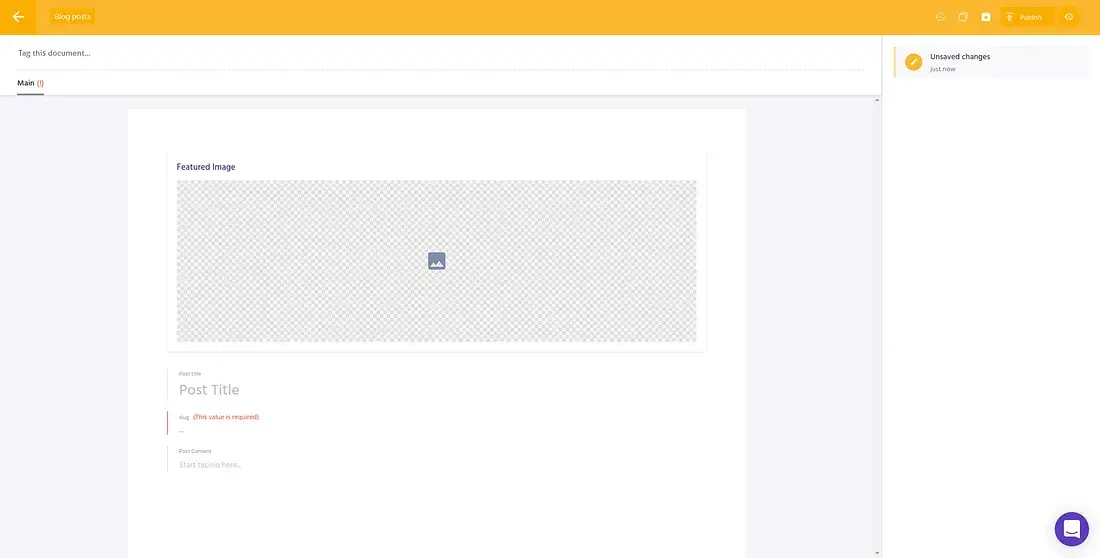
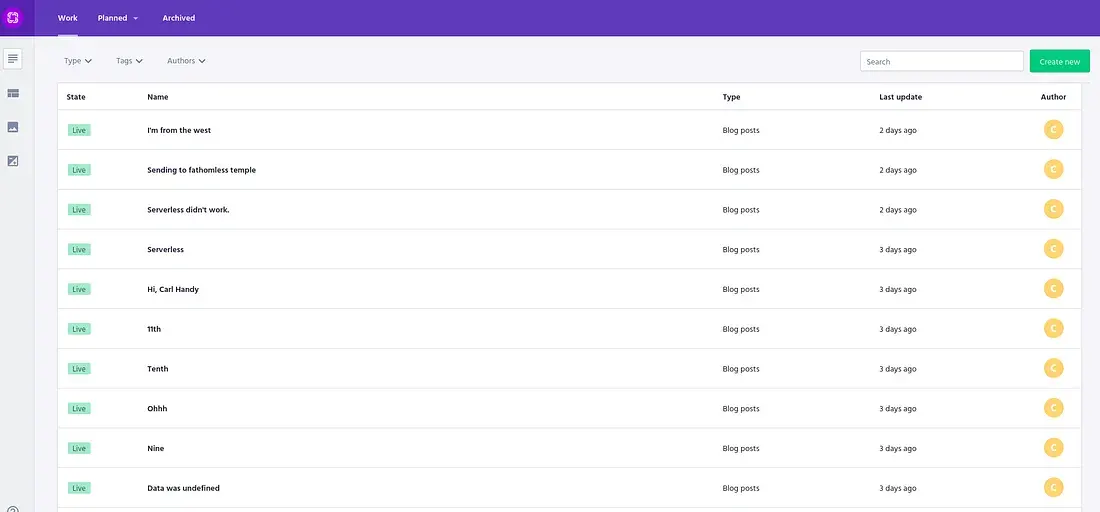
Take note of the fields that we created earlier. Add some content and click publish. It will show up in the dashboard like this.
In your pages directory create a sub-directory called blog with an index.vue file. Also inside of blog create a folder a called _id with another index.vue file. Your directory structure should now look like this:
...
pages
| --blog
| --- index.vue
| --- \_id
| ----index.vue
...
In blog->index.vue we’ll be getting and display a list of all the documents published on prismic.
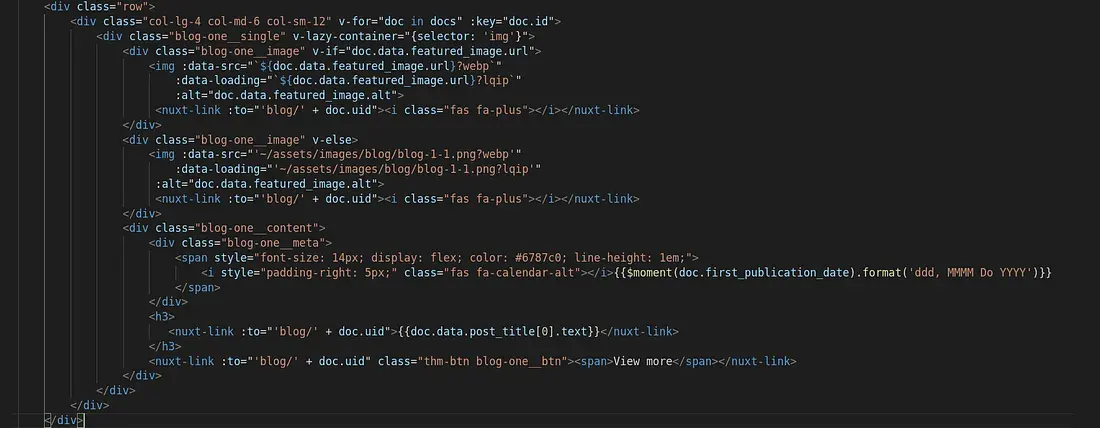 template
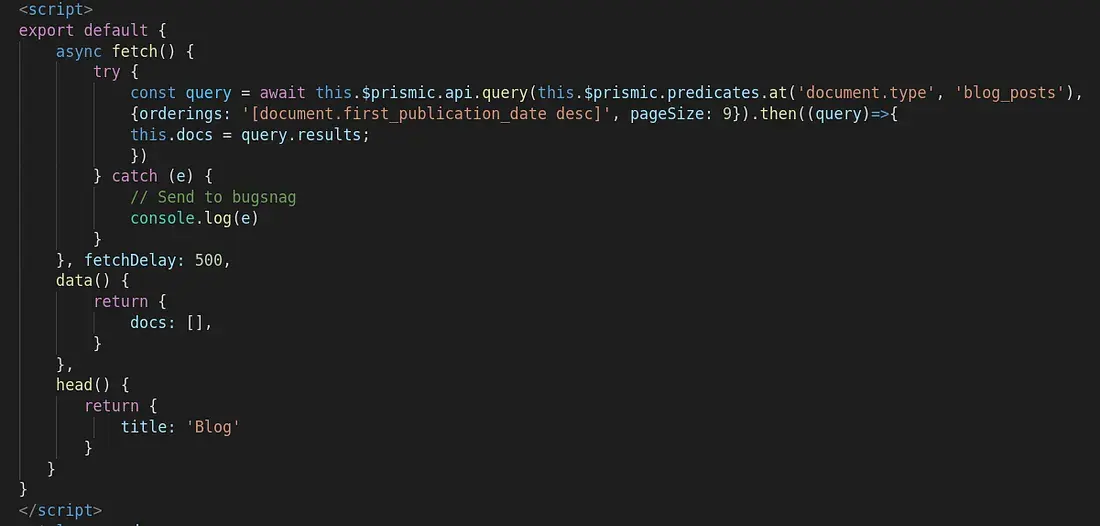 logic
logic
What’s this gibberish Carl? EXPLAIN!
The first image shows our vue template — where our html code goes. The second is our javascript that queries the prismic api and stores the data in an array.
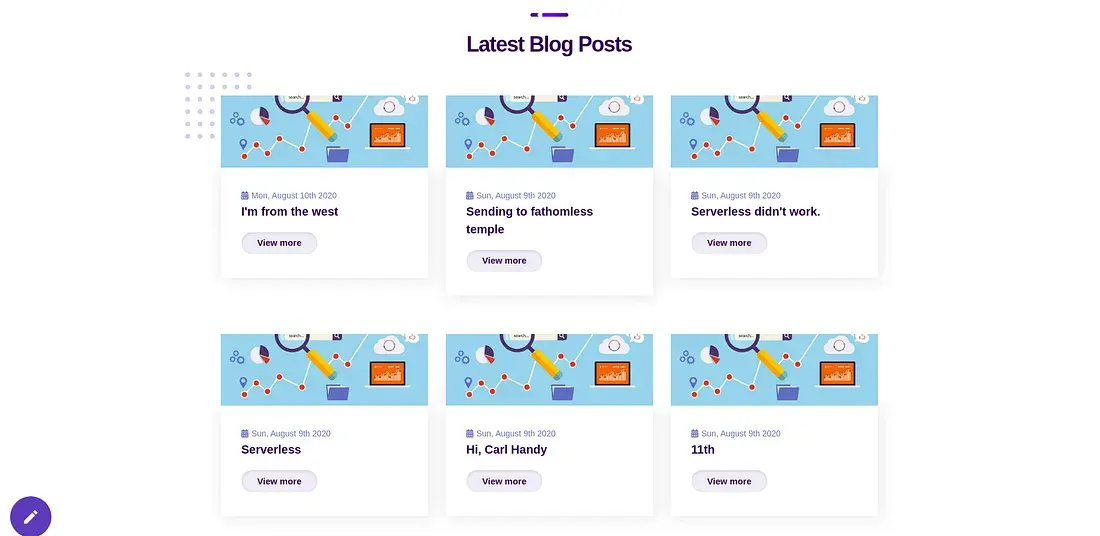
Together this would something like:
<template>
  <div id="root" class="someClass"><--- Some html code ---></div>
</template>
<script>
  export default {};
</script>
Let’s start with the logic — the javascript.
Remember when we installed the nuxtjs/prismic module at the very start? Well this allows us to call $prismic from any part of our application and we’re simply running an asynchronous function to fetch the data.
const query = await this.$prismic.api
  .query(this.$prismic.predicates.at("document.type", "blog_posts"), {
    orderings: "[document.first_publication_date desc]",
    pageSize: 9,
  })
  .then(query => {
    this.docs = query.results;
  });
The above gets all documents of the type blog_posts sorted by the date first published in descending order, limits the page size to 9 and stores the results in the docs array.
In the template we’re iterating the array to display the data returned. A quick console log will show us exactly what fields are being returned — hint: it’s the ones we created when configuring our WYSIWYG editor :)
Everybody loves icing on cake, so lets add ours!
Push Notifications with OneSignal
We’ve already installed the required nuxtjs/onesignal module and added it to our config file. What’s left to do:
- Create a one signal account and add an app.
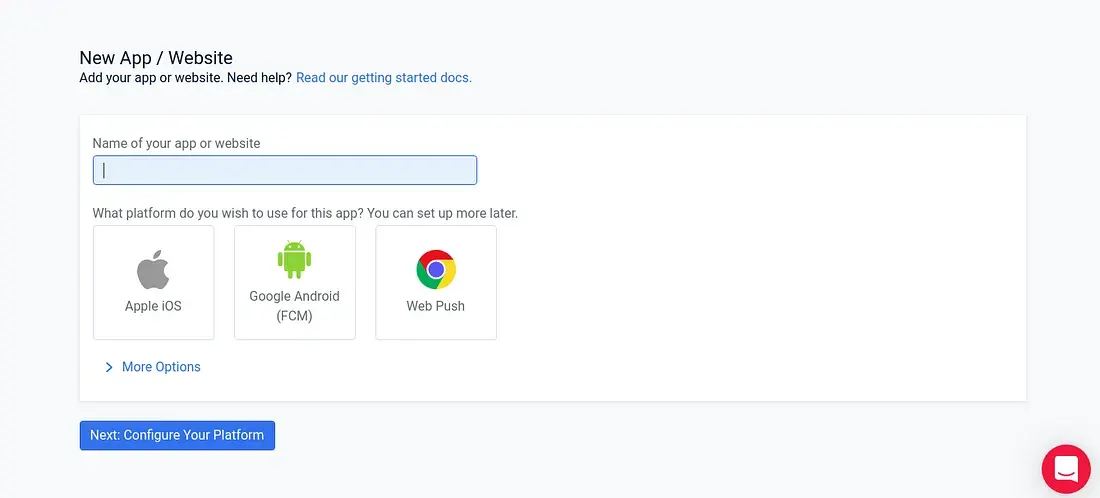
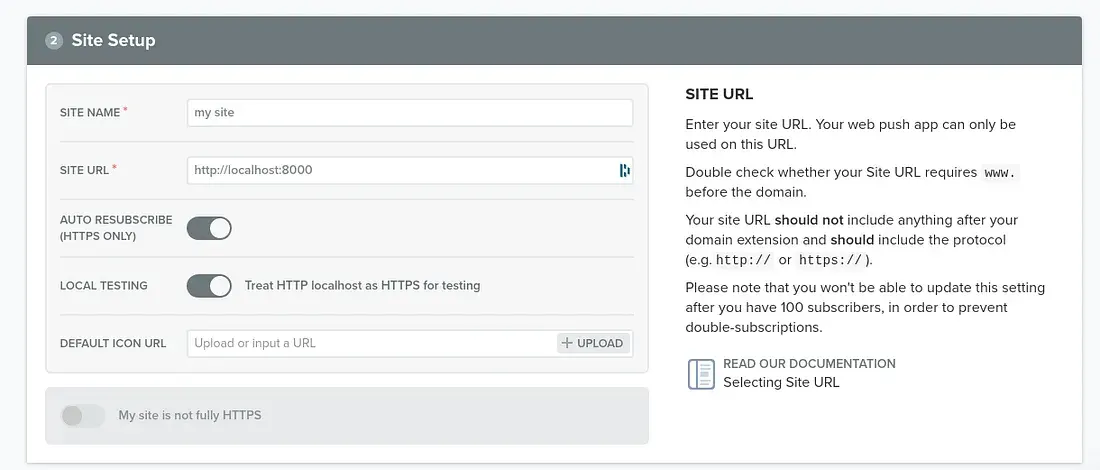
Name your app, select Web Push and click Next.
For testing purposes these are the only fields you’ll be editing. Click save and let’s head back to our project directory. DO NOT download the SDK files or paste the code provided into anywhere, the nuxt/onesignal module does this for us.
See
OneSignal’s official documentation for setting up on localhost if you have any problems.
In your config file paste the following to initialize onesignal:
...
oneSignal: {
  init: {
    appId: 'xxx-xxxx-xxx-xxxx',
      allowLocalhostAsSecureOrigin: true,
        welcomeNotification: {
      disable: false
    }
  }
}
...
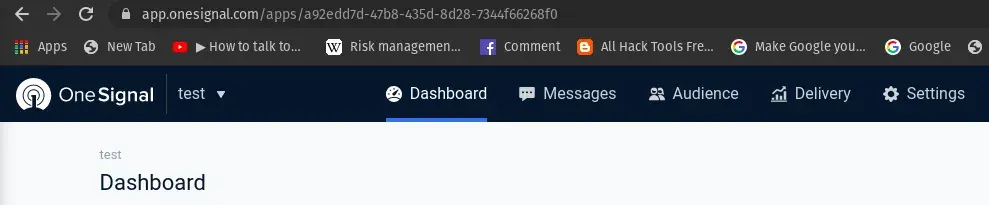
Your app id is visible in the browser when you navigate to the project dashboard or by going to Settings->Keys & IDs.
IMPORTANT: To send push notifications to users of all segments onesignal requires you to send the API key as Authorization: Basic <rest-api-key> along with Content-Type: application/json in the request header.
Configuring the webhook listener
We’ll be creating this using express. Start by creating a directory called server in your project root and a file therein called index.js.
Add the code found here replacing all necessary variables with your own.
https://gitlab.com/-/snippets/2003202?source=post_page-----6b0c2b5b56b3--------------------------------
Start the express server by going to <project-directory/server> and running node index.js
Since we’re on localhost we need to expose it to the web in order to test the webhook. For that, install ngrok then run ./ngrok http 5000 to expose the express server to the internet.
Copy the https version of the link and in Prismic navigate to Settings->Webhooks and click Create a webhook.
Paste the ngrok url and append the route from the server index.js file.
https://<randomstringgeneratedbyngrok>.ngrok.io/notifications
To uncheck all triggers except “A document is published” and click Add this webhook.
 Substitute the onesignal’s notification api url in the post method of index.js with a public requestbin url (private bins don’t work) to test the data being sent.