JavaScript is what the devil uses to torture sinners - but I like Astro.
When Astro first launched, I didn’t think much about it. I roll my eyes at every new JavaScript framework. There’s one every two weeks. If we can fix or agree to abandon JavaScript, I think the world would be a better place - rant over.
For those unfamiliar, Astro is a web framework for content-driven websites. It’s blazingly fast and allows you to integrate with your existing UI framework. I won’t dive into how it works under the hood or its architecture; Instead, I’ll walk you through how I moved this blog away from WordPress, configured TinaCMS for content management, and OneSignal for subscription management and deployed it to Cloudflare pages.
Before we dive in let’s understand why I’m making this switch in the first place. The primary reason is that I don’t want to manage servers and all the security aspects that come with hosting a WordPress site.
I’ve migrated about 90% of client sites that were once powered by WordPress to Nuxt.js and Contentful because I do not wish to deal with that anymore. It’s more work upfront to build the front-end and does not offer the same design “flexibility” but the long-term benefits are worth the tradeoff.
The secondary reason is to improve performance and provide a better experience to you, my readers. Given that my bounce rate is now under 30% I’d say you all have been liking the change.

Let’s dive in
Astro setup
Because I’m lazy and this is a side project I opted to use a predefined theme.
npm create astro @latest-- --template satnaing / astro - paper
If you want to build your UI from scratch run the command without the template flag.
Tina setup
TinaCMS does not come pre-built with this template so the next step is to install it by running:
npx @tinacms/cli@latest init
There should now be a tina directory in the root of your project. It contains the configuration file needed to model the collections. A collection is basically a group of fields for a specific content type. It takes a name, label, path and list of fields.
If you’re trying this with the same template as I am then you’ll need to set the content path in tina/config.ts to path: “src/content/blog” since the template uses astro content.
After creating a collection update the build and dev commands in the package.json and push to github.
”build”: “tinacms build && astro build && jampack ./dist"
"dev”: “tinacms dev -c \“astro dev\""\
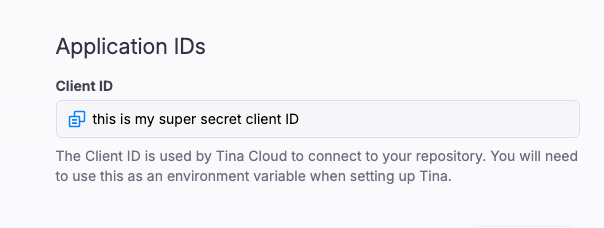
At this point, we need to configure Tina for use. Register for Tina Cloud at tina.io and create a new custom project by authenticating with Github and selecting your repo. Now grab your client ID and Content (Read Only) tokens and save them as environment variables in your project. Inside tina/config.ts set clientID and token.
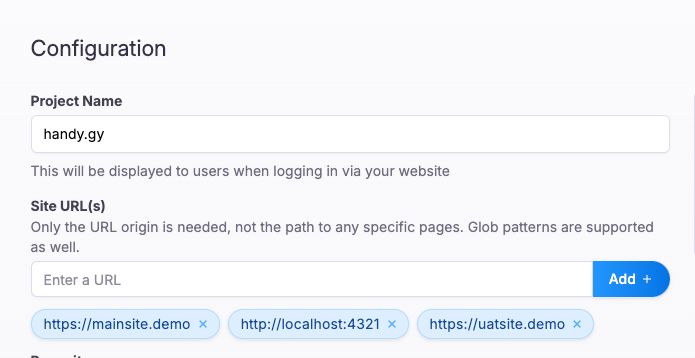
The configure Tina to work with your domain.
Run npm run dev to start Astro and TinaCMS locally. To manage Tina go to http://localhost:{port}/admin/index.html
Content Migration & Management
Since I hadn’t done much writing, there were only a handful of posts to migrate, so it was easy to copy/paste into TinaCMS. For a larger site, I’d need to find a way to export the posts and pages to markdown. I’m sure there’s a plugin.
When it comes to creating a new post or page Tina, being git-based gives me the option of manually writing my markdown and pushing to github or using the admin panel with the WYSIWYG editor. Choosing the latter will have the markdown created automatically and pushed to Github when in production.
One Signal Configuration
What’s a blog without a subscribe CTA? I like OneSignal because it offers push notifications to many different channels, though for this setup I’m only concerned with web push and email.
OneSignal Web Configuration
- Go to Settings -> Platforms
- Activate Web
- For Integration type choose Typical site
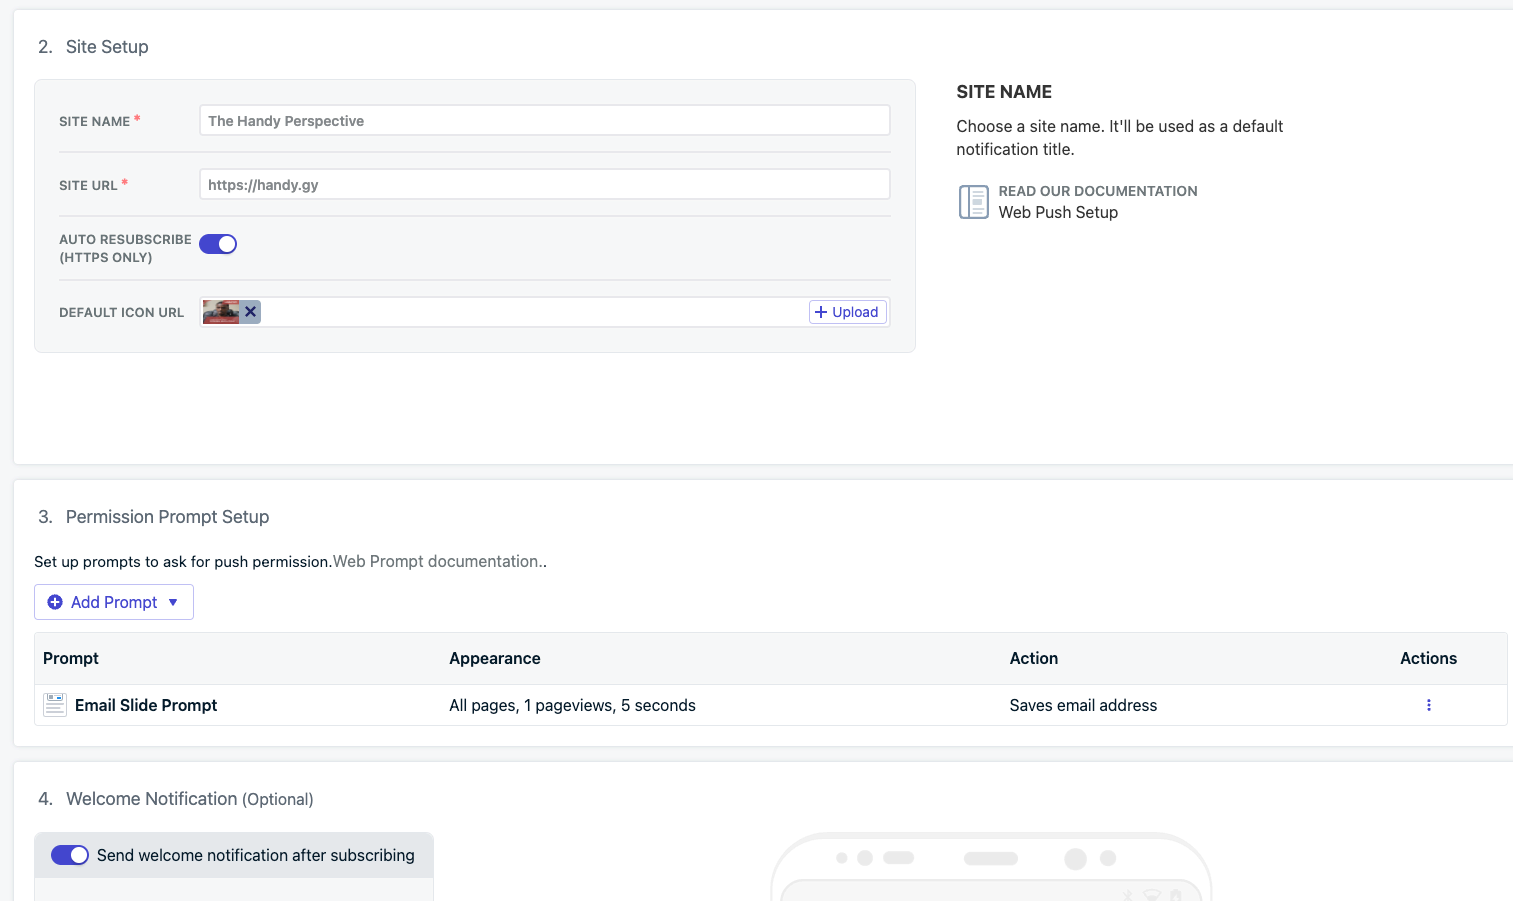
- Configure site details and under Permission Prompt Setup add an email prompt
- Download the OneSignalSDKWorker.js and add it to the public directory.
- Add the following script to your <head> typically found in Layout.astro
<script
  is:inline
  src="https://cdn.onesignal.com/sdks/web/v16/OneSignalSDK.page.js"
  defer
></script>
<script client:only is:inline defer>
  window.OneSignalDeferred = window.OneSignalDeferred || [];
  OneSignalDeferred.push(function (OneSignal) {
    OneSignal.init({
      appId: "treat this like a password and keep it secret",
    });
  });
</script>
OneSignal Email Configuration
- Go to Settings -> Platforms
- Activate Email
- Choose Sendgrid as your email provider (I found this to be the easiest setup process)
- Add your Sendgrid API key
- Configure sender name, email and optional reply-to email
With this, users will see a popup asking them to subscribe by entering their email. Now that we’re capturing emails, we need to use OneSignal’s API to send notifications when a new post is published.
Since we’ll be deploying this as a static site via Cloudflare pages the best way to accomplish this is by creating a worker that makes a POST request to OneSignal.
Deploying to Cloudflare
- Go to Workers & Pages -> Overview
- Click Create Application
- Select Pages and connect to git
- Choose repository and go through the setup process
- Configure a custom domain
Final Thoughts
The overall developer experience of Astro has been very good. The template I chose uses React and since I’ve been working with that a lot recently there was no break in mental model and it was easy to customize. I like the control I have over my content with TinaCMS. My only complaint is that the admin section breaks regularly due to cloudflare’s caching so it’s always best to upload content on the *.pages.dev domain rather than the custom domain.
